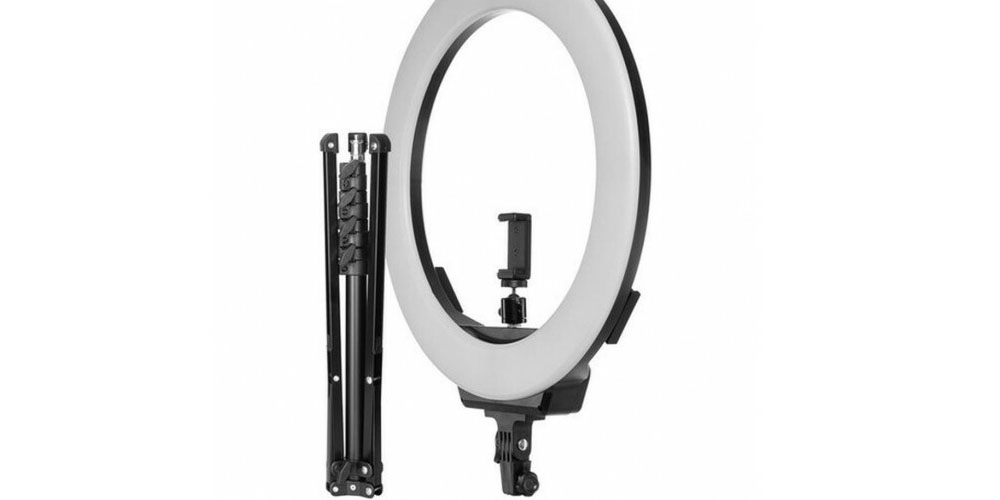
Creating YouTube, Tiktok, Instagram, and any other videos is a fun way of creating content and expressing yourself to the world. With time, you get to build an audience interested in your videos; thus, you have to share more and more good quality content and have high clarity and accuracy levels. To show off your incredible creations, buy your 9-inch ring light from https://www.addbeautiful.com/product/9inches-ring-live-light/ at an affordable price and get the best device. In this extract, we discuss the styles of ring lights and how to create lighting for vlogging.
Style of Ring Lights
The different types of ring lights can be classified into two main styles: on-camera or off-camera, depending on the kind of light you want for your vlogging.
1. On-camera
This style allows you to clip your smartphone or camera at the top. It is ideal for close-ups like makeup tutorials and selfies too. They are slightly smaller than their counterparts but still produce adequate lighting. It consists of LED lights that distribute warm and cool lighting and three light settings that help regulate the intensity of your glow. It's easy to operate and flip to the rear camera. An example is the beauty ring light duo.
2. Off-camera
This style comes with a stand or tripod, and your smartphone is clipped onto the ring at the middle allowing light to illuminate from above, below, and front. It reduces shadows and glares that may be formed by light, and your client looks bright and spotless. Examples are the classic ring light and small table ring light.
How to Prepare a Ring Light for Vlogging
Most vloggers own ring lights to create professional looks and videos. Let us see the steps of how to get it ready for use.
1. Creating Good Lighting for Vlogging
As much as vlogging is about videos, lighting is an essential part of it. No lighting or poor lighting hinders the production of content. Setting the right mood and tone for all your videos is essential. The tips to getting started are;
2. Three-point Lighting
The setup is made up of three lights; a ring light and two softboxes. The ring light is positioned at the preferred place then each softbox is placed on either side of the ring, ensuring no shadows are formed.
3. Set the Temperature
Adjust the temperature to suit your content and create a certain vibe around it. You are free to choose between warm and cool lighting as long as it fits your idea and allows interactivity between you and the viewers.
4. Position Your Ring Light
Once you have clipped your phone onto the ring, adjust it until it directly opposite your face. It prevents you from capturing shadows during shooting.
5. Select a Background
Place your ring light in a way that when you're sitting, what people see is a beautiful background. It can be an accent wall, a flower, book shelve, etc. A junk-filled place is distracting and can put off the viewers.
Conclusion
Vlogging or content creation using ring lights is amazing. What sets vloggers apart other than creativity is the quality of their videos caused by lighting. A good ring light and an understanding of the settings involved allow you to make the necessary adjustments needed for the vlogging lighting setup.


